 bukharifaran

If you love the jewelry then you should also try the handmade jewelry as well which is cost effective and you can get that with each and every dress code. You can get the matching jewelry with your dresses and with your looks as well. This post is for those crafts junkies who would love to craft handmade jewelry on their own using different things.
You can design and craft the jewelry in no time and others will love your DIY handmade jewelry ideas as well. Here you can learn how you can craft tiny tassel bracelet yourself.
Tiny Tassel Bracelet DIY
Every girl will love to have this tassel bracelet and can craft at home. There is not much you need to buy to craft this DIY tiny tassel bracelet.
Things that you need for this bracelet are:

- Embroidery thread of different colors
- Scissors
- Chain
- Ribbon Connectors
- Flat Nose Pliers
- A few Jump Rings
- Lobster Clasp
- A piece of small cardboard
Cut a piece of cardboard in a small size. You would need to wrap the embroidery thread over it of your own choice. You have to wrap your tassel, cut the thread of medium length and wrap it around the cardboard.
Wrap the embroidery thread over cardboard as many times as you want, in my case, I have wrapped it 13 times and then cut the thread.

Before removing the cardboard cut the tassel from the bottom and then remove the card. Now in the ribbon connector insert the top of the tassel. To flatten the tassel down, use the pliers.

Cut another thread from the embroidery thread and wrap it on the tassel just under the connector as shown in the image below:
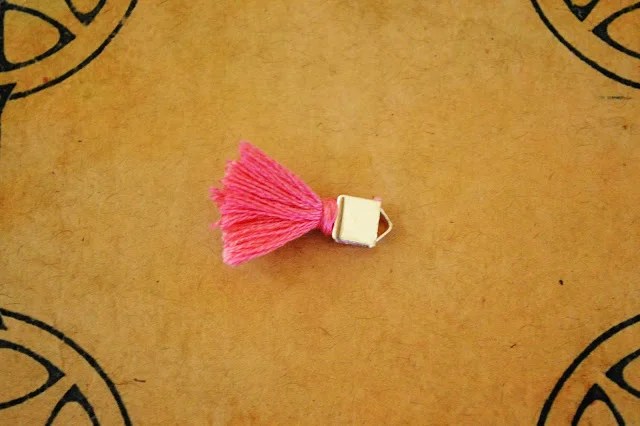
From the top of the ribbon, attach a jump ring so that you can make the connections. Now connect it to your favorite chain.

Make more tassels and repeat the same procedure as described above. To make it more stylish and girlish, use different colors of embroidery threads so that it looks nice.


